Google for Social Media Traffic
Google has long been the largest source of traffic for most websites. Starting now, Google can also drive traffic to your social media profiles.
Thanks to their updated “knowledge panel,” you can tell Google which social media profiles your business uses and what the name or link should be.
Adding the social media profiles means you control more of the first page of Google plus increase the size of your audience on other networks. That’s a huge win-win for your business.
Here is what you can now create with structured data and Google’s knowledge panel:

Social Profiles Google Adds to Knowledge Panels
Currently, Google only allows specific social networks to their knowledge panels. They encourage you to add others (like Pinterest!), but the profiles they support include:
- Google+ (shocking, I know)
- YouTube
- Myspace (insert joke)
According to Google, the Google algorithm processes the social networks you have identified and shows the most relevant results.
4 Steps to Add Social Profiles to Google
1. Create Structured Markup
This is a bit nerdy, but you can do it! You are essentially creating a list of information that Google will find when it comes to your site.
This is the template you want to use:
<script type="application/ld+json">

{ "@context" : "http://schema.org",

"@type" : "Person",

"name" : "your name",

"url" : "http://www.your-site.com",

"sameAs" : [ "http://www.facebook.com/your-profile",

"http://instagram.com/yourProfile",

"http://www.linkedin.com/in/yourprofile",

"http://plus.google.com/your_profile"]

}

</script>
The bolded sections are where you add your specific social profiles. For example, 9 Clouds’ structured data looks like this:
 <!-- start social profiles (https://developers.google.com/structured-data/customize/social-profiles) -->
 <script type="application/ld+json">
 {
 "@context" : "http://schema.org",
 "@type" : "Organization",
 "name" : "9 Clouds",
 "url" : "https://9clouds.com/",
 "logo": "https://9clouds.com/logo.png",
 "sameAs" : [
 "http://www.facebook.com/9clouds",
 "http://www.twitter.com/9clouds",
 "https://plus.google.com/+9clouds/",
 "http://instagram.com/9cloudsinc",
 "https://www.linkedin.com/company/9-clouds-inc.",
 "https://www.youtube.com/channel/UCvn6cUKXMoBm_OJoRrOC22Q",
 "https://www.pinterest.com/9clouds/"
 ]
 }
 </script>
 <!-- end social profiles -->
Google gave us a warning about adding a logo, so we did that as well.
2. Upload Your Structured Data
Now that you have created your structured data, you need to add it somewhere on the site that will be crawled. For most of us, this means the homepage.
If you can edit your code, add the structured data before the <head> section of your homepage. If you don’t know what I just said, email the structured data to your webmaster.
3. Verify It Works
Once the code is added, make sure that it works.
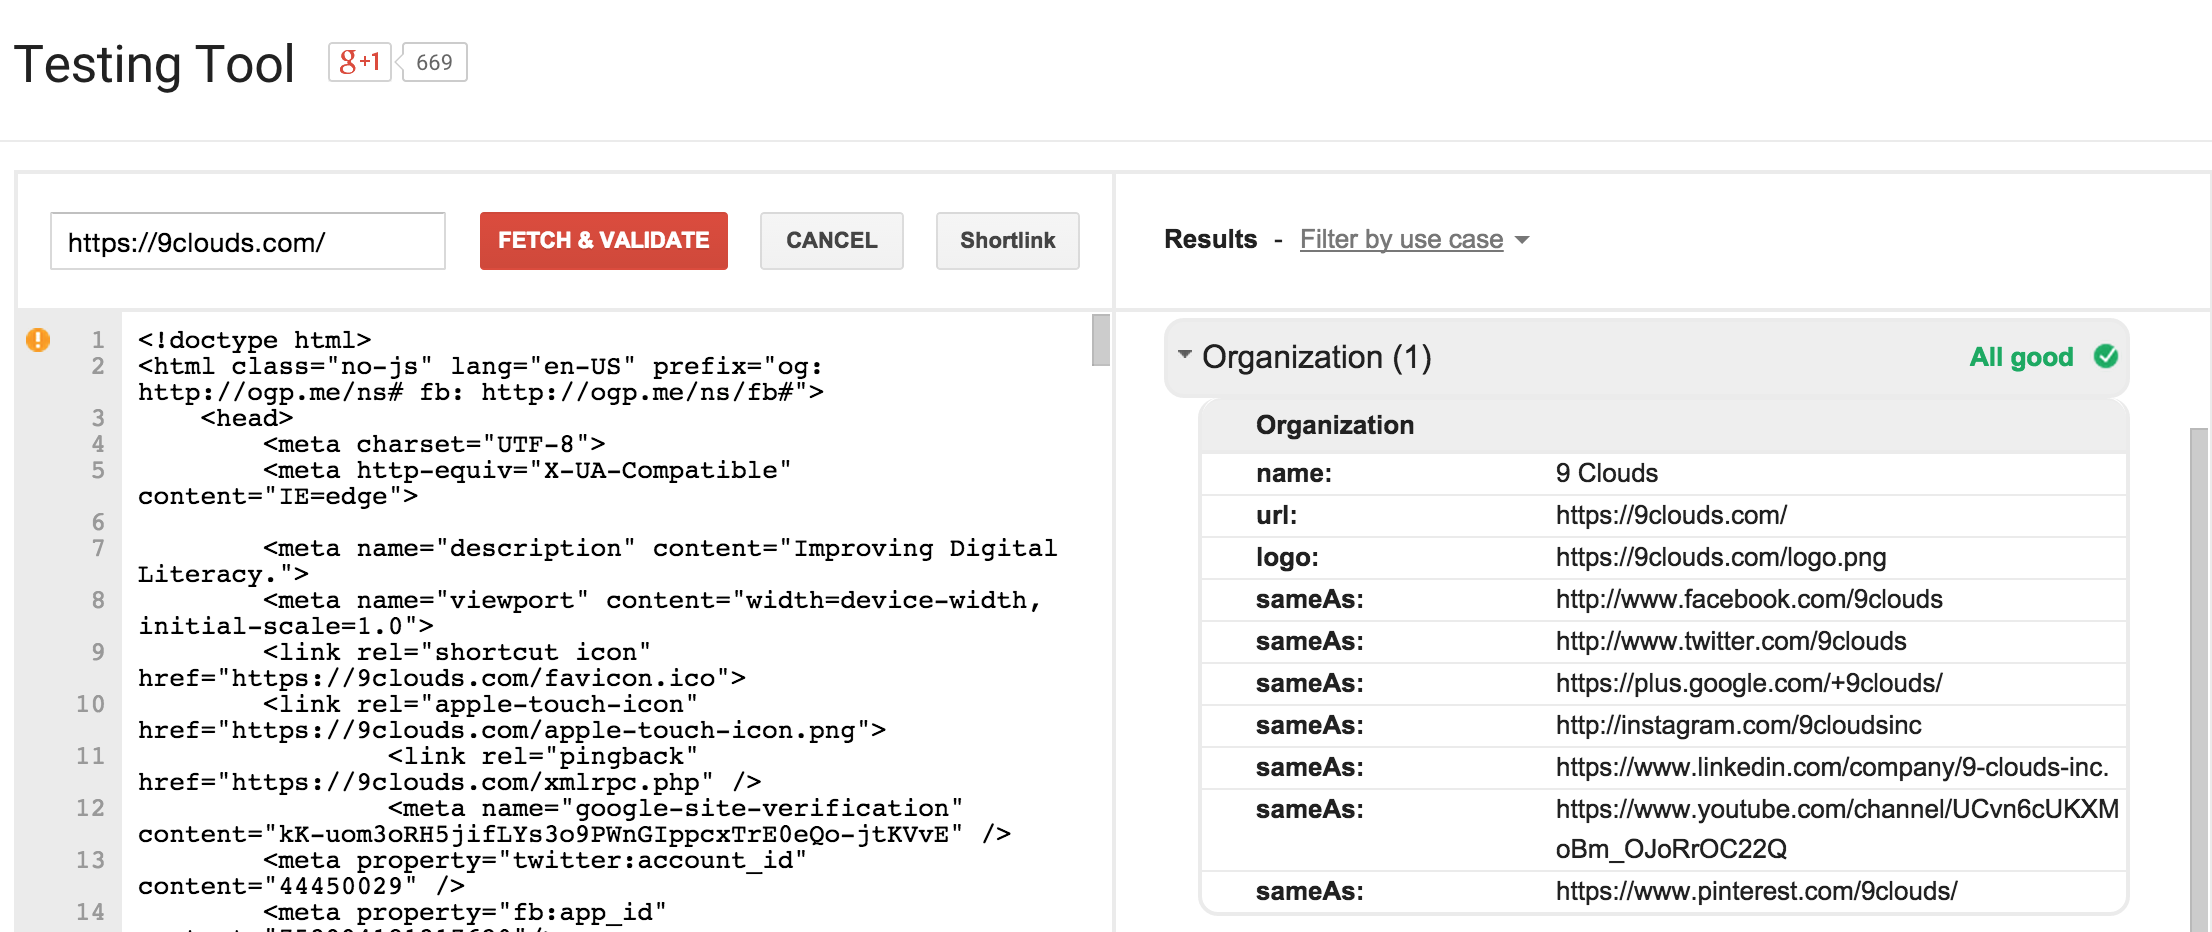
Visit the Google Testing Tool, click Fetch URL and type in your website’s address. You should see the same structured data showing up in the testing tool. Here’s what ours looks like:

4. Wait (or force the issue with Google)
The next time your website is crawled by Google, your social media profiles will be added to the site and available for Google search. If you don’t like to wait, however, you can visit Google Webmasters and submit the site to Google’s index. That will get your additions added within a week.
More SEO Help?
If you are looking for more help on showing up and standing out on Google, make sure to take our Guide to SEO course.
Not only will it take you from novice to SEO expert, it will also show you how social media influences SEO.
The post 4 Steps to Add Social Media Links to Google Results appeared first on 9 Clouds.